Getting Started
Note: This tutorial assumes background knowledge of what type of sources are compliant with the three harvester options in CKAN
This step-by-step tutorial will show you how to set up one of three types of harvester options available in CKAN.
We will demonstrate the set up of a harvester using the JSON DCAT Harvester. Setting up this harvester will allow you to harvest data from JSON objects based on DCAT metadata fields into your CKAN instance.
Some examples of JSON DCAT sources:
- https://raw.githubusercontent.com/ckan/ckanext-dcat/master/examples/dataset.json
- https://geoportaal-ddh.opendata.arcgis.com/data.json
- https://metadata.geodata-utrecht.nl/dcat
Example: Where to start
To begin setup of a harvester in CKAN, you need to add /harvest to the URL of your CKAN instance.
For example:
https://YOUR-CKAN-PORTAL-NAME/harvest
On this /harvest page, you will see an overview of harvester sources that are currently set up. On this page you can add additional harvesters.
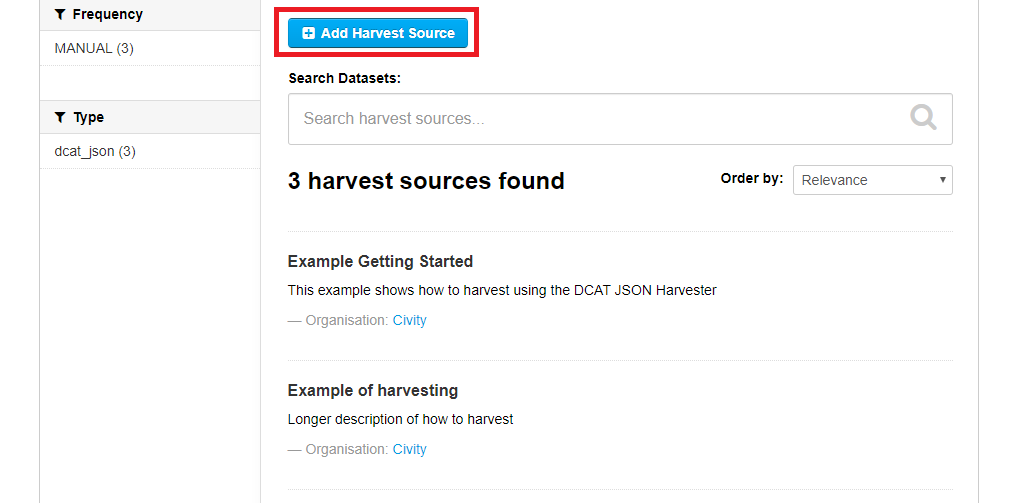
1. Adding a Harvester
Click on the Add Harvest Resource button
2. Configure a Harvesting Source
After clicking the Add Harvest Resource button, you need to complete the following fields:
URL (mandatory)
The URL contains the actual harvesting source. In our example we will use a JSON file which consists of DCAT metadata for two datasets. Each dataset in our example contains multiple different file types. The example JSON file that is used can be viewed here: JSON DCAT file.

Title (mandatory)
The title that is provided will be used in the URL name of the harvester.

Description
Provide an appropriate description for your harvester.

Select source type
In our example the source type is the DCAT JSON Harvester. An explanation of each type of source can be found here: types of harvester options in CKAN.

Update frequency
When frequency is set to always, the harvester will reharvest as often as possible. In other words, this option lets the harvester run with the smallest time-interval possible.
Update frequency options are: always, weekly, biweekly, or monthly.

Custom configuration
Custom configuration only accepts JSON objects. You may find an example of additional harvester configuration here.
Custom configuration allows you to provide additional requirements or fields for the harvester to harvest.

Select the appropriate organisation from a dropdown list

Save your configuration
Click the blue save button - your harvester setup is now complete.

3. Running Your Harvester
Click the Admin button
Click the Reharvest button to initialize the harvester

Click the Confirm button to begin the harvesting process

4. The Havesting Process
Depending on the source, the harvester process will take one to several minutes to finish
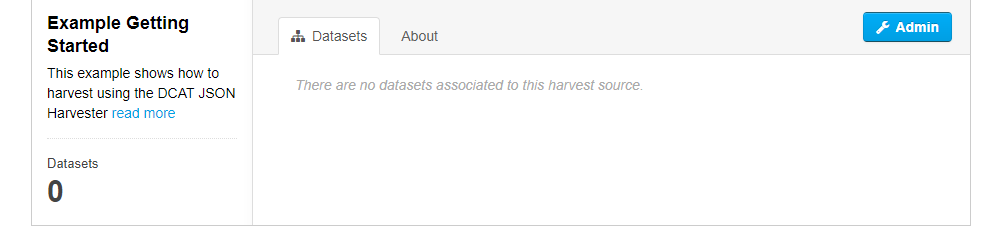
On the harvester's Admin page, you will see a tab labeled Dashboard. On this tab, you will see information about harvester's current or last completed process.
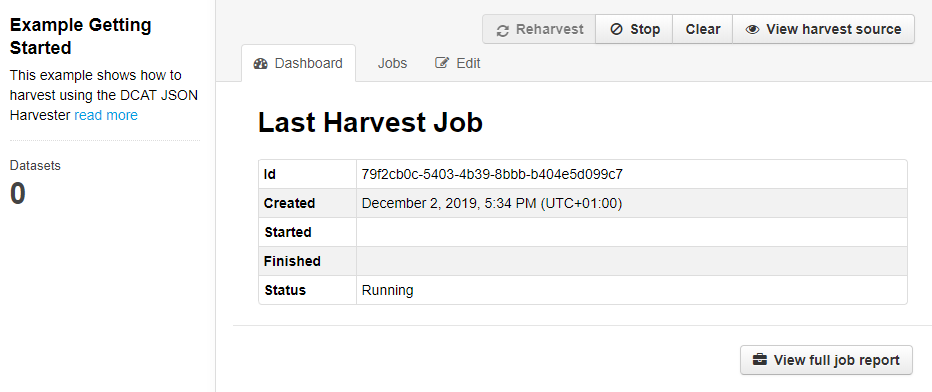
In our example, you can see that there are no notifications underneath Last Harvest Job. If the process has compeleted, you can click on the Dashboard tab again to refresh the page.
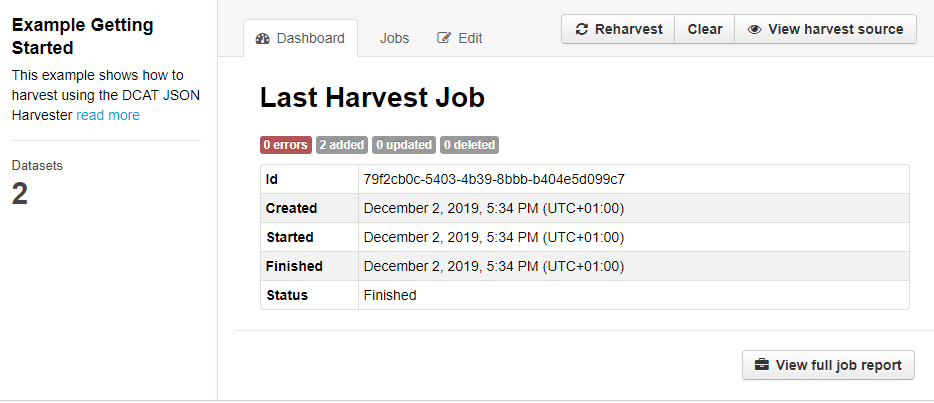
Here we can see that the process is finished - In our example the page shows that two datasets were added.
5. View harvested datasets
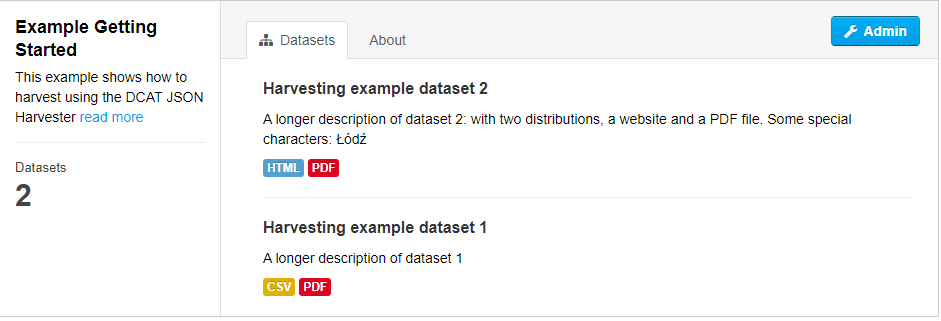
Clicking the View Harvesting Source button will display datasets that we added during the harvesting process.
The harvested datasets are now displayed